How To Screenshot In Windows Eleven: Complete Guide for Every Need
Windows Eleven offers several built‑in options for capturing your screen, whether you want the entire display, a single window, or a custom region. Below you’ll find step‑by‑step instructions for each method, plus tips on choosing the right tool for your workflow.
1. Using the Classic Print Screen Key
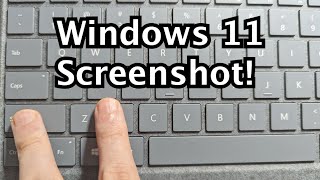
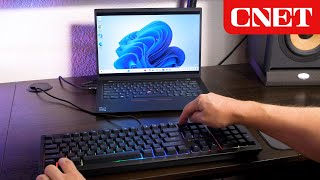
The simplest way to take a screenshot is to press the Print Screen (PrtScn) key on your keyboard. In Windows Eleven this key copies the whole screen to the clipboard, where you can paste it into any image editor, such as Paint or Photoshop. For a quicker workflow, combine it with other keys:
- Windows + Print Screen – Saves the full‑screen capture directly to the Pictures → Screenshots folder.
- Alt + Print Screen – Captures only the active window and copies it to the clipboard.
2. Snipping Tool: The All‑Purpose Utility
Windows Eleven revives the classic Snipping Tool with a modern interface. To launch it, type “Snipping Tool” in the Start menu and select the app. Once open, you can choose from four snip modes:
- Free‑form Snip – Draw any shape to capture.
- Rectangular Snip – Drag a rectangle around the area you need.
- Window Snip – Click a window to capture it.
- Full‑screen Snip – Capture the entire display with one click.
After taking a snip, you can annotate, save, or share it directly from the toolbar.
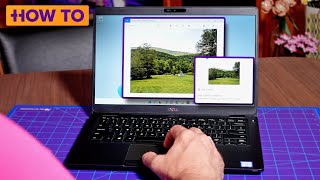
3. Snip & Sketch: Quick Editing on the Fly
Snip & Sketch is a lightweight companion to the Snipping Tool. Press Windows + Shift + S to open the snipping overlay, then select the same four modes listed above. The captured image is copied to the clipboard and a notification appears, allowing you to open it in the Snip & Sketch editor for quick markup before saving.
4. Xbox Game Bar for Gaming Screenshots
If you frequently capture gameplay, the Xbox Game Bar provides an integrated solution. Press Windows + G to open the overlay, then click the camera icon or press Windows + Alt + PrtScn to snap the current frame. All screenshots are stored in Videos → Captures, making it easy to locate and share your gaming moments.
5. Using Third‑Party Tools for Advanced Needs
While Windows Eleven covers most scenarios


![Windows 11 Screenshot machen - Tastenkombination [Shortcut, Speicherort]](https://i.ytimg.com/vi/vYaeTpntI6I/mqdefault.jpg)


![3 Ways To Take A Screenshot In Windows 11 [2026 Guide]](https://i.ytimg.com/vi/ZJPJvTnU8hU/mqdefault.jpg)