How To Xerox In HP Printer – A Complete Step‑by‑Step Guide
If you own an HP printer, you already have a built‑in copier (often called a “Xerox” in everyday language). This article shows you exactly how to use that feature, from preparation to troubleshooting, so you can produce clear copies without buying a separate machine.
What Does “Xerox” Mean in Modern Printing?
The term “Xerox” is commonly used as a verb meaning “to make a copy.” While Xerox Corporation pioneered the technology, today any copier—including the one inside an HP printer—performs the same function. When you follow the steps below, you are essentially telling your HP printer to “Xerox” a document.
Preparing Your HP Printer for Copying
- Check the paper tray. Make sure the tray contains the right size paper (A4, Letter, etc.) and that the paper guides are snug against the edges.
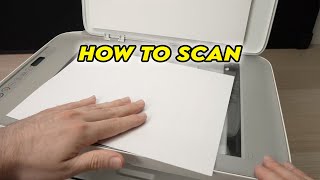
- Load the original document. Place the pages you want to copy on the scanner glass, aligning them with the guide marks. For multiple pages, use the automatic document feeder (ADF) if your model has one.
- Power on the printer. Most HP printers turn on automatically when you press a button, but verify that the display shows the printer is ready.
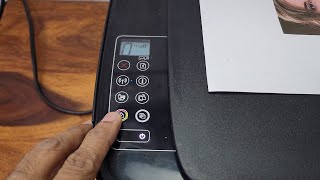
- Select the correct mode. On the control panel, press the Copy or Scan button. Some models label this as “Copy” while others combine scanning and copying under a single icon.
- Adjust copy settings. Choose the number of copies, contrast, and scaling (e.g., “Fit to Page”). For color documents, ensure the “Color” option is selected; otherwise, the copy will be grayscale.
Step‑by‑Step Tutorial – Copying a Document
In this video, I show you and tell you exactly how to make a simple copy using an HP printer. Follow the quick steps below to replicate the process:
- Press the Copy button on the printer’s control panel.
- Use the ± keys to set the desired number of copies.
- If you need a larger or smaller copy, select Enlarge or Reduce from the menu.
- Tap


![How to copy documents using an HP printer [HP Laser MFP 135a for printing and copying documents]](https://i.ytimg.com/vi/geasopyY0D4/mqdefault.jpg)